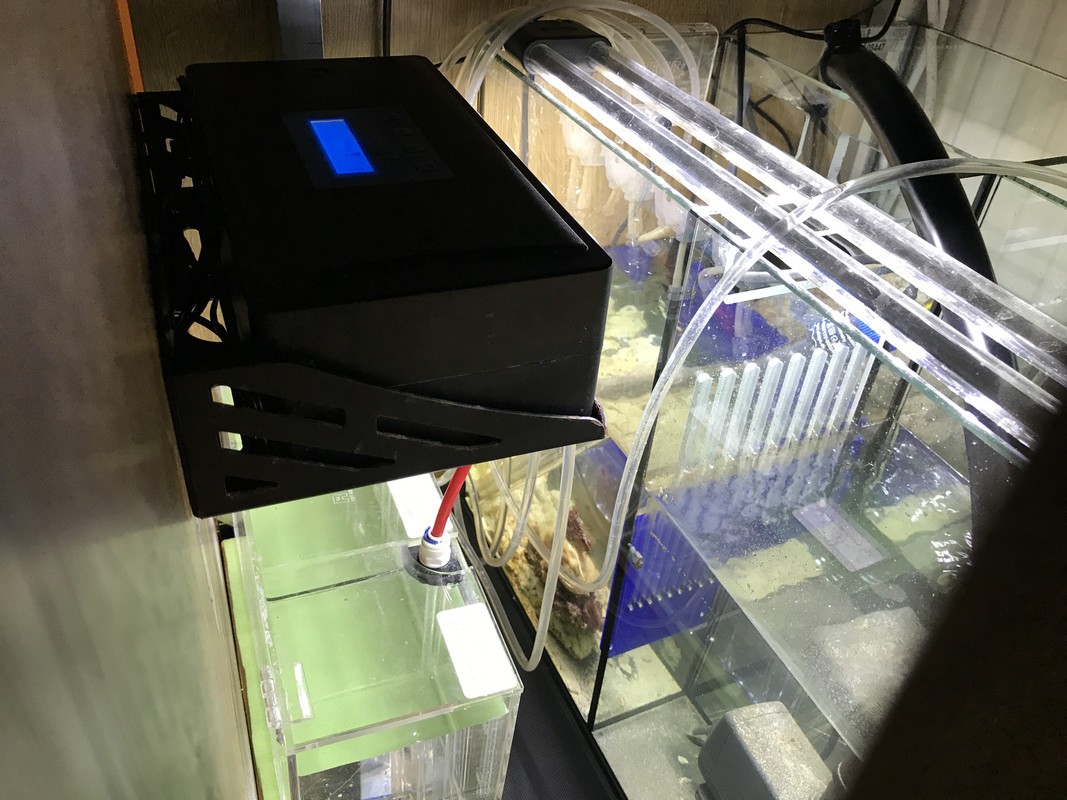
Today I have installed the doser and supply tanks. This is a Kamoer unit I had left over from before.
I made a shelf for the tanks and mounted both them and the doser on the cabinet door. That way they are easily accessible with the door open, and don’t blick access to the sump, but they tuck away neatly when the door is closed.
Plumbed up with new pipes and filled with RO, I have tested it and it works perfectly. At the moment it is effectively acting as a top-up unit as I don’t have an ATU yet.
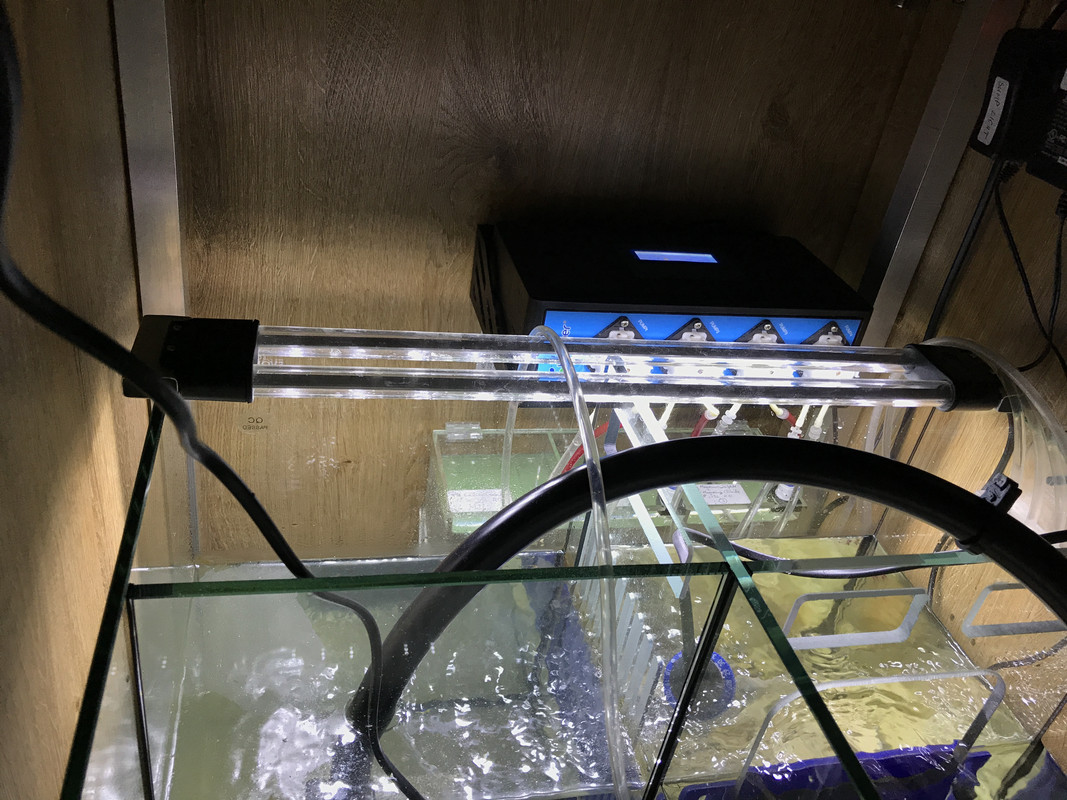
With the door open:

Door nearly closed, looking through the gap:
Door closed, seen from the back of the cabinet: